The post Our 7 Favorite Tools for New Bakers appeared first on bake blog.
]]>Keep in mind that we’re making some assumptions here. We’re guessing that you already have an oven in your kitchen at home and a few cooking basics like a large mixing bowl, a wooden spoon, a wire whisk, a sharp knife, measuring spoons and a couple of sheet pans. If not, start there!
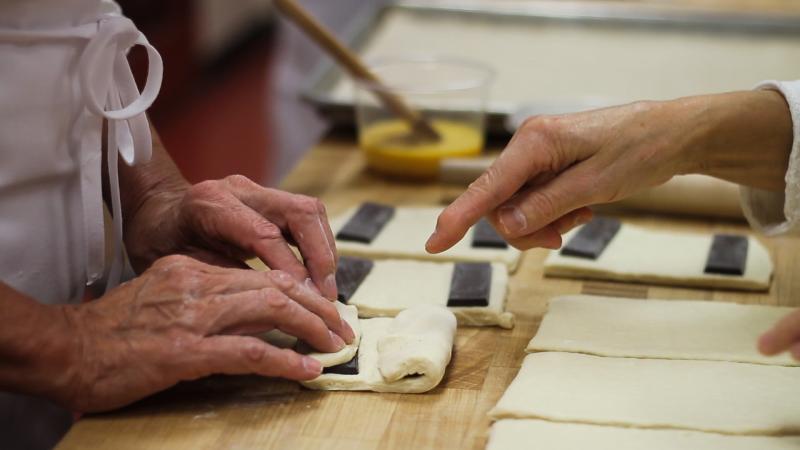
Digital Scale
We are firm believers in measuring by weight rather than volume. (Read about our thoughts on the matter here!) Recipes in our cookbook and at BAKE!, our hands-on baking school, are listed in both weight and volume. To ensure maximum accuracy and consistency in your baking, we recommend ditching the measuring cups and making the switch to a kitchen scale. Look for a simple digital scale in your price range, making sure it has settings for multiple units of weight, including grams, ounces, and pounds.
Mixer
Most recipes can be mixed by hand with a whisk or wooden spoon, but sometimes it’s a workout! So a stand mixer is a solid investment and something you can use nearly every time you bake. Baking on a budget? Pick up a hand mixer to start. Your upper arms will thank you.
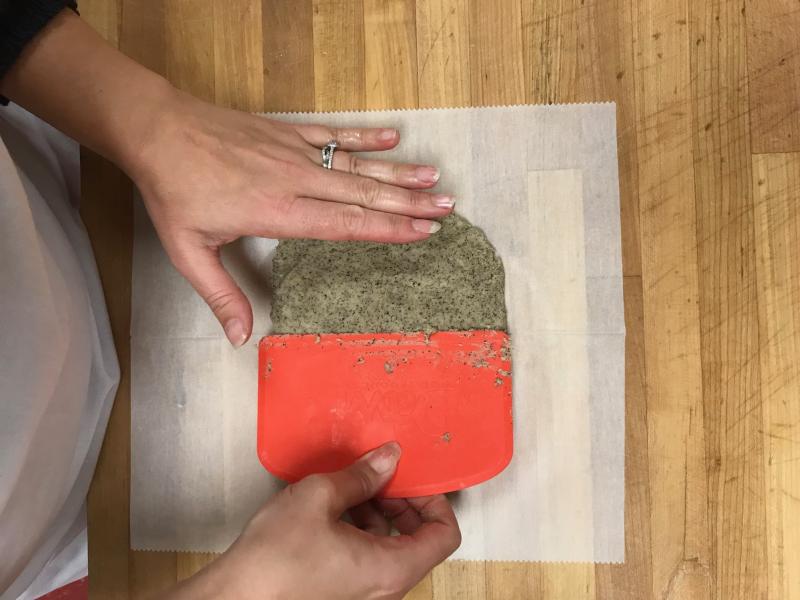
Plastic Scraper
A silicone spatula or bowl scraper is an inexpensive and useful tool when it comes to bowls of batter or dough. This little spatula hugs the curves of the mixing bowl when you are scraping down the sides and bottom in between additions, to ensure your precious ingredients are properly incorporated. No more dry pockets of flour at the bottom of the bowl!
Dough Knife
Like the rounded plastic version mentioned above, a straight-edged metal dough knife or bench scraper is a low cost and high-value tool. Professional bakers use them to easily cut or divide doughs and to clean work surfaces. Use ‘em to scrape up dry dough or batter spills from your countertop.
Parchment Paper
This is a handy convenience that really saves on time and clean up in a baker’s kitchen. Parchment paper is a disposable, nonstick, oven-proof surface for your sheet trays and baking pans that makes clean up a breeze.
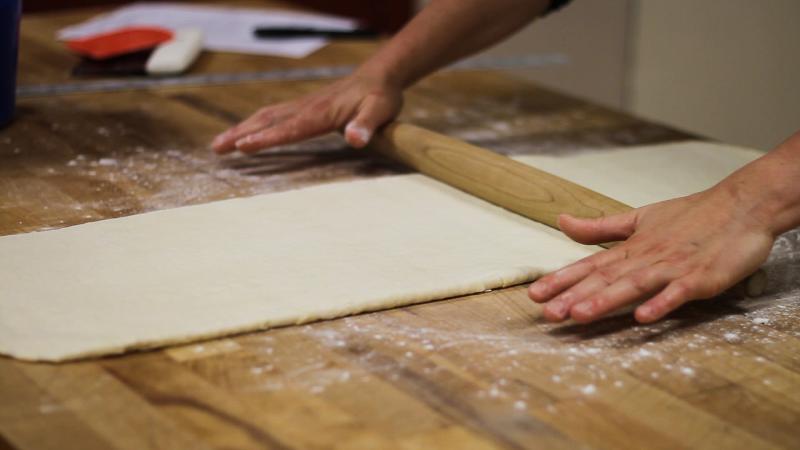
Rolling Pin
A rolling pin is a necessity for rolling out pie dough, cut-out cookies, puff pastry, and more. Our pick is a traditional French wooden rolling pin with tapered ends. They are a lightweight alternative to pins with rotating handles, and easier to control for a beginning baker.
Portion Scoop
Using a scoop to dole out batters and doughs can ensure everything in the batch is the same size, meaning even baking across the board (er, baking sheet). You can certainly eyeball it, but this is a pro tip for uniformity that is easy to add to your toolbox.
By Sara Hudson, Marketing Coordinator for the Zingerman’s Community of Businesses
Since 2006, we’ve shared helpful tips and valuable techniques for successful home baking at BAKE!, the hands-on teaching bakery at Zingerman’s Bakehouse in Ann Arbor.
The post Our 7 Favorite Tools for New Bakers appeared first on bake blog.
]]>The post 10 Tips for Baking with Kids appeared first on bake blog.
]]>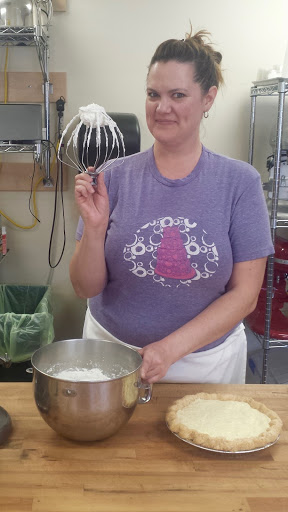 Since I graduated in 2004, I’ve worked in restaurants, convention centers, and universities. But there was always this lingering feeling of “Did I make the right choice?” “Should I have stayed with getting my elementary education degree?” “Why am I working summers in hot kitchens when I could have been off for 3 months?!” I loved sharing my culinary knowledge with the student assistants I had in the bakeshop at Eastern Michigan University, and after years there, I realized that what I really wanted to be was a chef instructor. Having a job that combined both of my passions was a dream.
In the summer of 2011, I saw a job posting for a baking instructor at Zingerman’s BAKE!. I grew up in Ann Arbor and, of course, knew about Zingerman’s. I didn’t even know about BAKE!, but when I looked at the schedule online, I knew I NEEDED to get the job. Luckily, I got the call from Shelby Kibler, former BAKE! Principal, at the end of August, and joined the BAKE! team the following month.
There were so many classes that it was a bit overwhelming, but I was excited to learn them all. What really energized me the most, though, were the family classes. I love getting to work with kids (and their parents) and teach them my favorite subject: baking and cooking! Their excitement for mixing, kneading, shaping, and tasting brings me such joy. Now, I’ve been here so long that kids I taught in family classes in my first few years here are now taking adult classes, and several are even in college now!
In early 2015, the BAKE! staff decided that our next adventure would be kids’ baking and cooking summer camps. With shows like The Great British Baking Show and Food Network’s kids’ cooking challenge shows, along with the rise of YouTube cooking shows and food blogs, many kids in family classes were already pretty accomplished home bakers and wanted to expand their knowledge. We knew that with our extensive recipe collection, our already great reputation, and our passion for teaching, we could create something great.
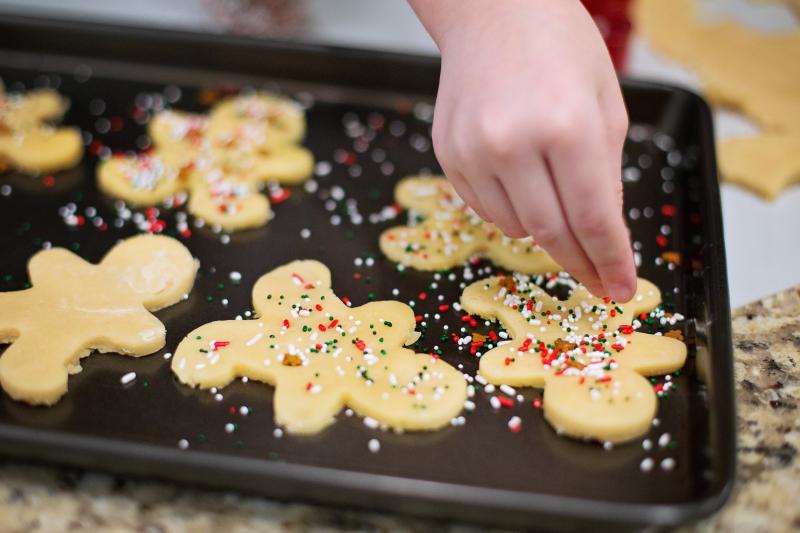
Overall, our kids camps have been amazing and we have so much fun teaching them every summer. Their enthusiasm is infectious, and we laugh all the time at the things kids come up with in class. It’s fun for us to see the same kiddos each year, although I have to admit that when I haven’t seen them for a year and they are suddenly taller than me and looking so grown up, it makes me kind of sad! Still, it’s such a joy to have them come back excited to learn new recipes, meet new friends, and help us engage the brand new students.
We hope that, whether or not your child has already taken a cooking and baking camp with us, they are learning to bake and cook at home, and that they’re engaging with food in a meaningful way. Here are some tips I’ve learned along the way for successful baking and cooking with kids.
10 Tips for Baking & Cooking with Kids:
1. Start introducing kids to working in the kitchen as young as possible. There are many ways even a 2-year-old can get involved in the kitchen. Have them add chopped vegetables to a salad. Let them dump ingredients into the mixing bowl. Let them taste ingredients.
2. Teach them about safety in the kitchen—why washing their hands is important, how to use oven mitts to remove a hot pan from the oven (when they are old enough), how to check the temperature of chicken with a thermometer, what to do if they get a cut or a burn, etc.

3. Involve your child with menu planning for the family. Let them help choose the main dish, side dish, and dessert; and research recipes that they can easily help with.
4. After menu planning, have your child help write the shopping list. At the store, let them help pick out produce, have them read the aisle signs to look for ingredients, or let them pick out a fun, new tool from the kitchen equipment section that they can use to make the next meal.
5. Choose foods to make that kids find appealing and interesting. Since they already like a food, they’ll likely be more interested in helping to make it.
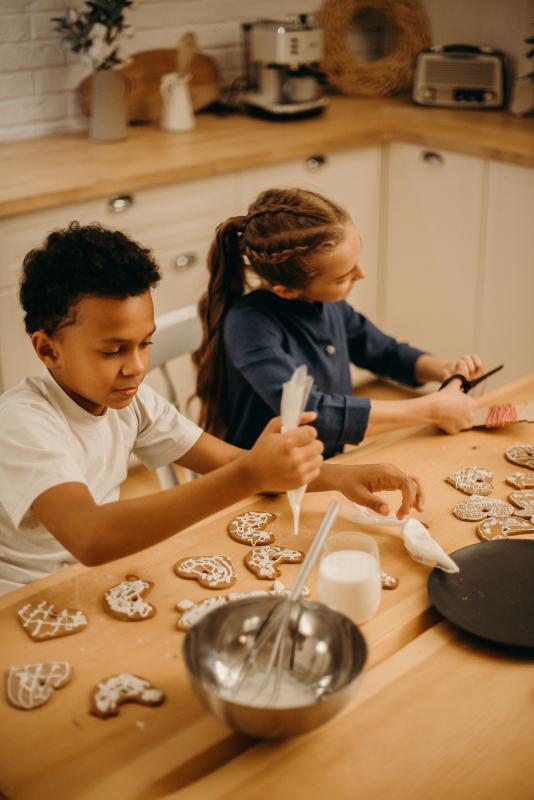 6. Get picky eaters to help make foods that they aren’t a fan of and try new ways to cook them. Your kid doesn’t like steamed broccoli? Try roasting it. Your child doesn’t like beans? Try making a veggie burger patty with them. Many times, if they are involved in making a recipe they’ll be more likely to at least try it.
7. Choose recipes that kids will be able to create without too much assistance after they learn the recipe. Start with easy recipes like cookies, brownies, or muffins. As they get more comfortable with the baking process, their confidence will increase and more challenging recipes can be tried.
8. Choose recipes that others in the house will want to enjoy. Kids will love the feeling of making their friends and family happy by making something delicious and homemade. Baking or cooking something really shows someone that you care!
9. Be patient with them! It can be easy to want to take over cracking the eggs or scooping the cookies but they need the hands-on experience to gain confidence.
10. Have fun with them! Get in the kitchen with your kid. (Or try a family class at BAKE!—no cleanup!) Your enthusiasm and excitement will create the same in your kid. The more fun they have, the more likely they will be to want to continue learning to cook and bake.
By Nikki Lohmann, BAKE! Instructor
Images credits: (2) Pixabay, (3) Alexander Dummer, (4) cottonbro, all from Pexels
The post 10 Tips for Baking with Kids appeared first on bake blog.
]]>The post Introducing Our New BAKE! Cookbook Club appeared first on bake blog.
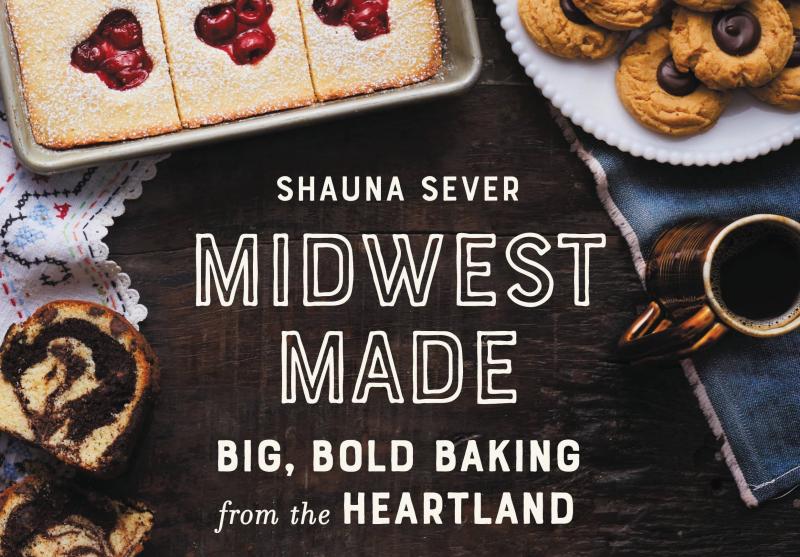
]]>We’re kicking off the club with Shauna Sever’s latest creation, Midwest Made. She’ll be joining us Thursday, November 7th for a demonstration of a few dishes from her new book and the following morning she’ll join us for our inaugural Cookbook Club gathering. We’ll get to watch Shauna demonstrate Danish Kringle—the official state pastry of Wisconsin!—and enjoy sampling it while we chat about the book and share our favorite recipes.
Sign up for Shauna’s November 7th demonstration here and sign up for the Cookbook Club event on the 8th here.
I’m SO in for this! …How exactly do I participate?
Three easy steps.
-
Familiarize yourself with the book. Pick up your own copy, borrow a copy from a friend or the library, find related articles online—you get the idea—and then read it! When our Club event lines up with an author visit you’ll always be able to buy the book (and get it signed) at the event.
-
Head into the kitchen. It’s hard to know what you think of a cookbook without cooking from it, right?
-
Share your thoughts.
a). Online: In the months set for each book (see the schedule below) we encourage you to share what you’re cooking and baking in our BAKE! Facebook group*. The more information you can add into your post the better—book title, author, recipe name, and recipe page. It will help your fellow members know what you’re talking about and help us all find topics we’re interested in (for instance, long after our event with Shauna we’ll be able to easily find previous posts from her book and see what someone thought of a recipe you’re interested in making). You can also share your creations and book feedback on Instagram—make sure to tag your posts with #bakecookbookclub so we see them.
b). In-person discussion: We’ll have an opportunity to gather together in real life for each book we cover, too. This will give us a chance to talk face-to-face about the book, try dishes from the book, and sometimes learn techniques from the book either from the author or from BAKE! staff members.
*The BAKE! Facebook Group is a private Facebook group for BAKE! students. If you’ve taken a BAKE! class, but you’re not yet a member, email lhard@zingermans.com with your name, the email address associated with your Facebook account, and what BAKE! class you’ve taken. If you haven’t taken a class yet, you’ll receive an invite after attending a class or a Cookbook Club event.
Can I bring food to the Cookbook Club events?
Yes! We will always have at least one dish from the current cookbook for everyone to sample, but we know that part of the fun of participating in a cookbook club can be sharing dishes that you’ve made, too. So, you’re welcome (but never required) to bring a dish to share.
Should you choose to bring a dish, please select a dish that will travel well and that is meant to be served at room temperature. If at all possible, bring along a sign to identify your dish with the name and ingredients to help others identify potential allergens. Note that BAKE! (and the Bakehouse) are peanut-free facilities, so dishes made with peanuts or peanut products are not allowed.
This goes without saying… but we’re going to say it again anyway. Should you choose to try dishes that other guests bring in, you’re acknowledging that they were made in a home kitchen, and that we have no way of knowing how they were prepared or if potential allergens were present.
Okay, got it. I’m a planner, what’s ahead?
So glad you asked. We’re planning on having an in-person Cookbook Club event every other month(ish).
October & November
Midwest Made by Shauna Sever
Event: November 8th from 9 – 11 am — reserve your spot here
Sign up to bring a dish here
* This is a unique case, in that you can start sharing in the BAKE! Facebook group now, but Shauna’s book isn’t out until October 22nd. (We know it can be tough to choose a dish to bring when the book isn’t in your hands yet. If you head to the book’s page on Amazon and click “Look Inside” you can see the Table of Contents to help you figure out which one to claim.) We’ll always try to share sources for online recipes (we always want as many people as possible to be able to participate!), but it’s especially important in this case, so here are some to get you started:
– Chocolate Bumpy Cake
– Gooey Butter Cake
December, January, & February
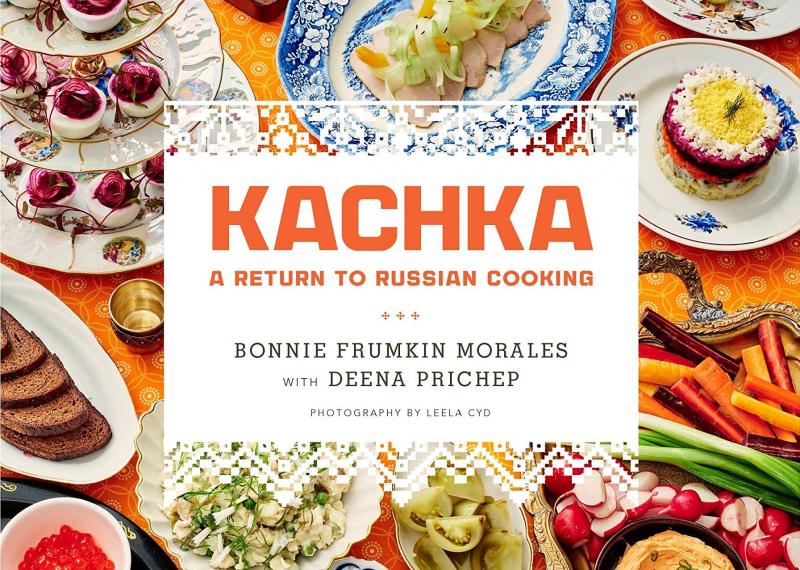
Kachka: A Return to Russian Cooking by Bonnie Frumkin Morales and Deena Prichep
Event: February 5th from 6:30 – 8 pm — reserve your spot here
March & April
Vintage Cakes: Timeless Recipes for Cupcakes, Flips, Rolls, Layer, Angel, Bundt, Chiffon, and Icebox Cakes for Today’s Sweet Tooth by Julie Richardson
Event: April 22nd from 6:30 – 8:30 pm — reserve your spot here

I still have questions and/or burning suggestions for future books to cover.
Send an email to lhard@zingermans.com, we’re all ears!
The post Introducing Our New BAKE! Cookbook Club appeared first on bake blog.
]]>The post Conversions with a Kitchen Scale appeared first on bake blog.
]]>Some things are forgiving—your favorite stretchy pants or an understanding friend, perhaps—but baking typically isn’t one of those things. It’s an exacting science that requires equal parts precision, artistry, and know-how. Today’s topic? Precision. If you’re not already baking by weight, we’re here to make the case for switching.
Here’s a situation that might sound familiar: You find a recipe that makes your heart go pitter-patter. You’re ecstatic to pull out your mixing bowl and whisk and give it a go. You follow the recipe in painstaking detail, pop it into the oven, and wait with bated breath for it to bake and cool. And then, when the time comes to taste test, something is just… off. Maybe it’s too dry, or it’s too oily, or the texture just isn’t right. Why have the baking gods forsaken me?, you ask, shaking your fists at the sky.
The answer may be sitting quietly in your drawer of kitchen tools. The humble measuring cup, the one you use to scoop and level your flour, is often the culprit behind disappointing bakes.
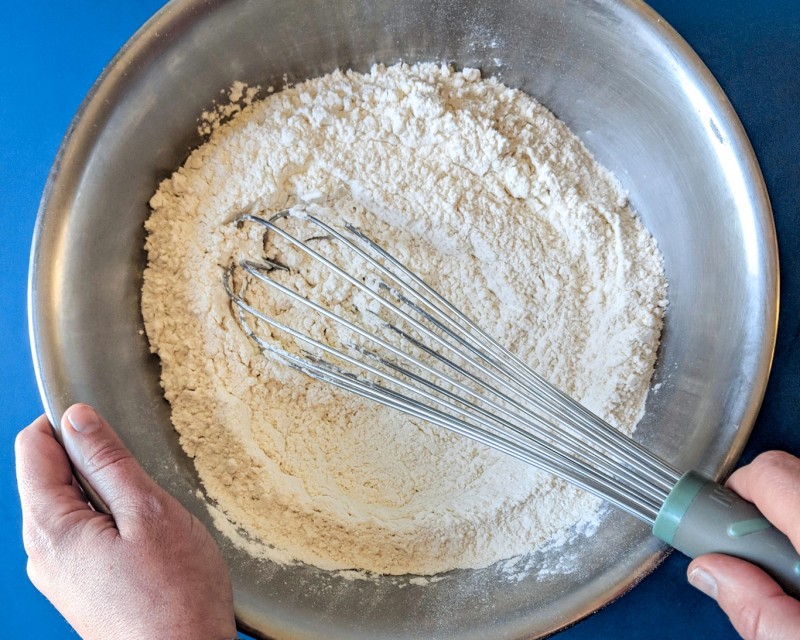
American bakers commonly use volume measurements. Many of us learned to measure by plunging a measuring cup into a crinkled bag of flour, leveling it off with a dusty finger, and dumping its contents into a mixing bowl. Here’s the problem, though: A cup of flour could weigh anywhere from 113 grams to 170 grams depending on the brand, the measuring cup you’re using, the method you used to scoop it… You can see how volume measurements open our bakes up to inconsistencies and imperfections. The best way to get consistent final products is to make the switch to weight measurements.
It can be unnerving to change your measuring method. Looking at a recipe listed in grams, ounces, or pounds, when all you’ve ever touched is an old plastic measuring cup, might be enough to send you running away from your oven. But fear not, dear baker! Weight measurements aren’t as frightening as they may seem. You can pick a weight unit that feels right for you, then head back into the kitchen to master the art of weighing.
How to succeed in weight measurements without really trying
Step one: Get your hot little hands on a kitchen scale. Choose for accuracy ratings; it’s important for your scale to get the numbers right every time. This doesn’t mean it has to be costly—you can purchase an effective scale for less than $20.
Step two: Learn the tare function. This lil’ button sets the scale back to zero, so you can measure ingredients directly in your mixing bowl without having to worry about, ya know, math. Forget about dirtying all those tiny measuring spoons, because those days are over! Just plunk a bowl on the scale, tare it, and add your ingredients one by one, taring in between. Or you can do one better and measure as we do at BAKE!, our very own baking school, for ultimate accuracy. Here, we measure each ingredient into its own container so we can easily double check weights and ensure that we’ve measured everything.
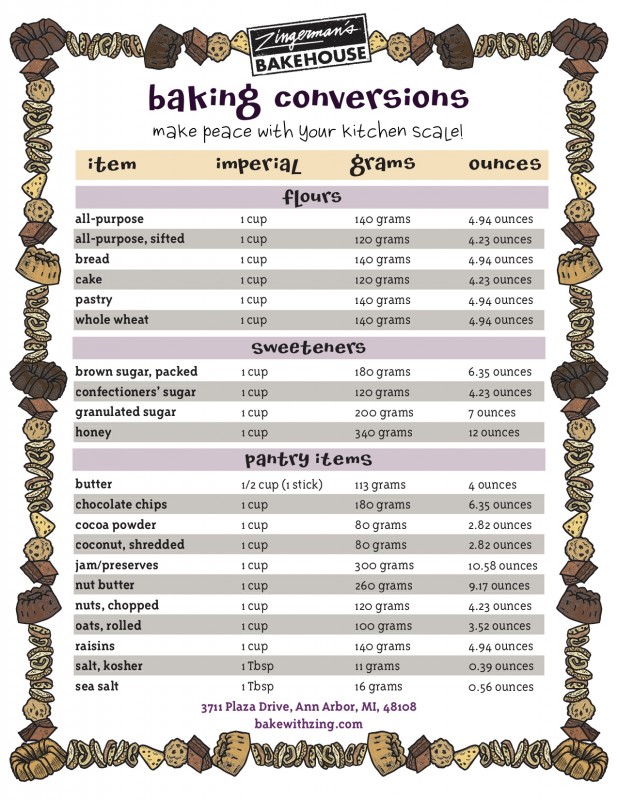
And the final step? Well, it’s more of an ongoing project. It’s helpful to familiarize yourself with some common conversions so you can comfortably replicate recipes regardless of their units of measurement. Luckily, we’ve already given you a head start.
Here’s a handy conversion guide for some common ingredients so you can conquer metric measurements with ease. Embrace your new scale with open arms, because it’s time to repair your relationship with the baking gods over a cup of coffee and a perfect scone. Your baked goods (and those who eat them!) will thank you.
So, how ‘bout it, folks?
Would you convert to a kitchen scale?
DOWNLOAD YOUR PRINTABLE CONVERSION GUIDE HERE!
The post Conversions with a Kitchen Scale appeared first on bake blog.
]]>